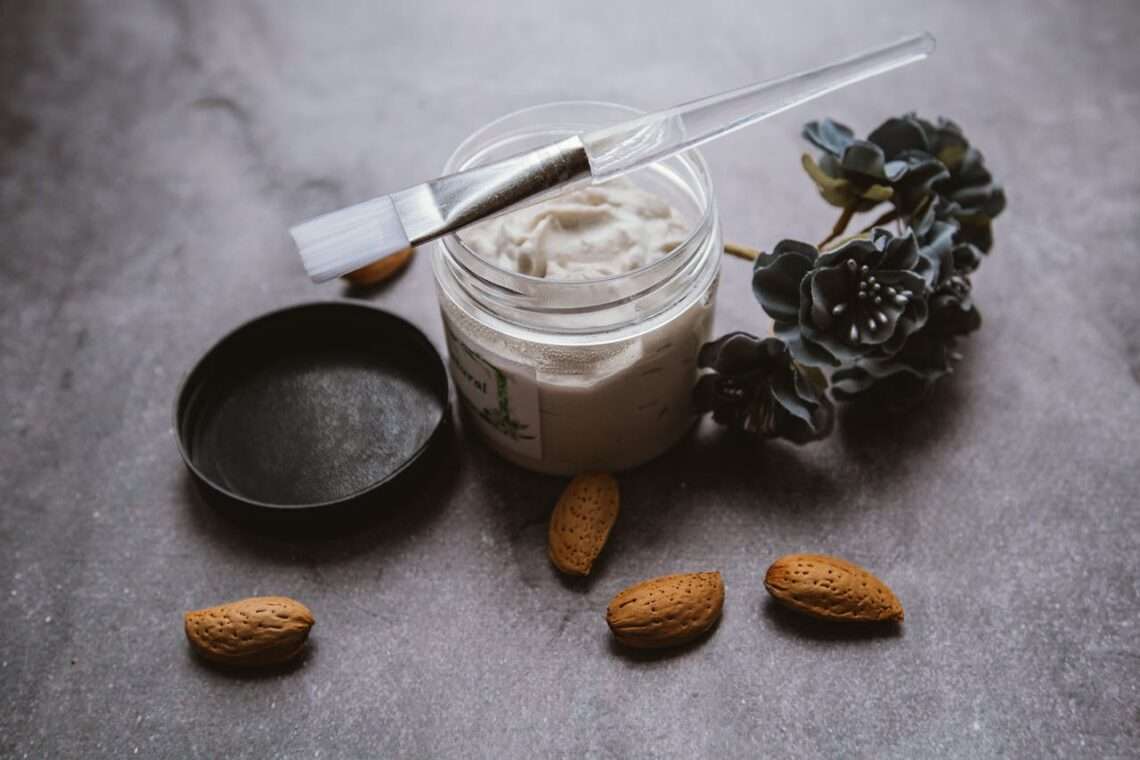
Easy DIY Beauty Treatments You Can Make at Home
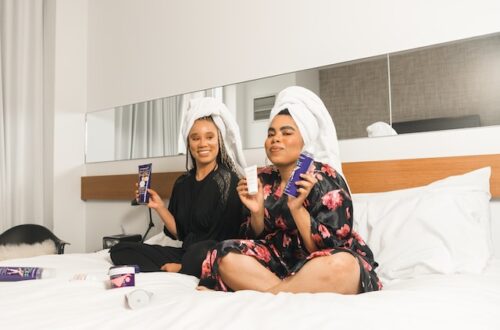
In a world that often seems to move at an overwhelming pace, taking some time for self-care is essential. Pampering yourself doesn’t always require a trip to the spa or a pricey beauty salon. Instead, you can create luxurious and effective beauty treatments in the comfort of your own home using natural ingredients. These concoctions, crafted from simple ingredients often found in your kitchen, promise to deliver a spa-worthy experience without the hefty price tag.
In this blog post, we’ll explore some easy do-it-yourself (DIY) beauty treatments that will leave you feeling refreshed, rejuvenated, and radiantly beautiful. Join us to unleash the glow within and embrace the art of self-care with these simple yet luxurious concoctions.
A brief overview of the rising trend in DIY beauty treatments:
In recent years, there has been a noticeable surge in the popularity of do-it-yourself (DIY) beauty treatments. More and more individuals are choosing to take their beauty routines into their own hands, turning to homemade remedies instead of solely relying on professional salon services.
With an abundance of resources available online, people now have the tools to take charge of their beauty regimens, tailoring them to their specific needs and preferences. The DIY approach not only offers a break from conventional beauty norms but also fosters a sense of creativity and self-expression in the pursuit of enhanced personal care.
A key element of the DIY beauty movement is the emphasis on natural ingredients. Many individuals are turning away from commercial products that may contain harsh chemicals and are instead choosing to incorporate natural elements such as fruits, herbs, and essential oils into their beauty routines. This shift highlights a growing awareness of the benefits of using organic, chemical-free ingredients for healthier skin and hair.
Benefits of DIY Beauty Treatments:
A. Cost-effectiveness compared to salon treatments
One of the primary advantages of DIY beauty treatments is their cost-effectiveness. Salon treatments can be expensive, and the DIY approach allows individuals to achieve similar results without breaking the bank. By using readily available and affordable ingredients, people can save money while still enjoying the benefits of a pampering beauty routine.
B. Customization for individual skin and hair needs
DIY beauty treatments provide a unique and tailored approach to personal care by allowing individuals to customize their beauty remedies based on specific skin and hair needs. Unlike commercial products that may offer a one-size-fits-all solution, DIY enthusiasts can experiment with ingredients that address their unique concerns, be it hydration, acne control, or hair nourishment.
This level of personalization ensures that beauty routines are not only effective but also cater to individual preferences and sensitivities, promoting a more targeted and holistic approach to skincare.
C. Fun and rewarding self-care experience
Engaging in DIY beauty treatments goes beyond the practical benefits; it offers a fun and rewarding self-care experience. The process of researching, preparing, and applying homemade remedies can be therapeutic and enjoyable, turning beauty routines into moments of relaxation and self-indulgence.
The hands-on nature of DIY beauty fosters a sense of accomplishment, contributing to overall well-being and mental health. This element of enjoyment transforms beauty care from a routine obligation into a fulfilling and pleasurable ritual, promoting a positive mindset and enhancing the overall self-care experience.
Essential Tools and Ingredients:
A. Must-have tools for DIY beauty
- Mixing bowls, spoons, and brushes
Essential tools for DIY beauty include mixing bowls of various sizes, spoons, and brushes. These tools facilitate the preparation and application of homemade beauty treatments. Mixing bowls provide a dedicated space for combining ingredients, while spoons aid in measuring and stirring. Brushes, whether for facial masks or hair treatments, ensure even and smooth application, enhancing the overall effectiveness of the DIY beauty routine. - Storage containers for homemade products
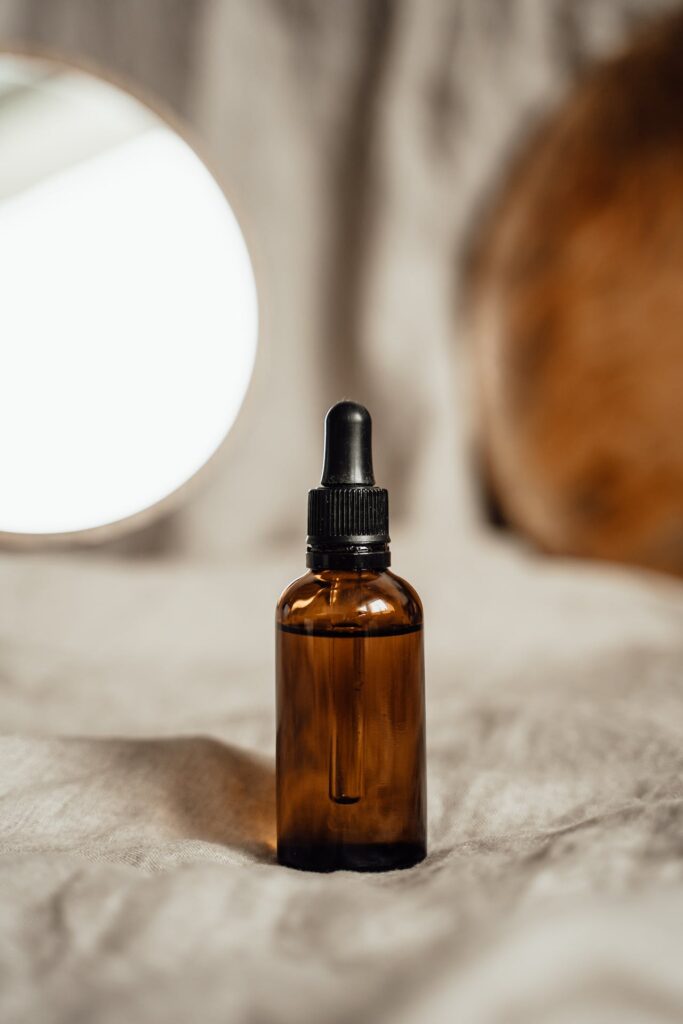
Equally important in the DIY beauty toolkit are storage containers. These containers allow for the safe and hygienic preservation of homemade products. Opting for airtight and light-resistant containers helps maintain the integrity of natural ingredients and extends the shelf life of DIY beauty creations. Proper storage ensures that individuals can enjoy the benefits of their homemade remedies over an extended period.
B. Key ingredients and their benefits
- Natural Oils for Hydration
a. Coconut Oil: Known for its deep moisturizing properties, coconut oil is rich in fatty acids that nourish and hydrate the skin. It’s versatile and can be used in hair masks and body scrubs.
b. Jojoba Oil: Mimicking the skin’s natural oils, jojoba oil is excellent for balancing oil production. It’s non-comedogenic, making it suitable for facial serums and moisturizers.
c. Argan Oil: Packed with vitamins and antioxidants, argan oil promotes skin elasticity and helps reduce the appearance of fine lines. It’s a great addition to anti-aging formulations. - Herbs and Spices for Added Nourishment
a. Aloe Vera: Renowned for its soothing properties, aloe vera is ideal for calming irritated skin and promoting healing. It’s a valuable ingredient in facial masks and after-sun treatments.
b. Turmeric: With anti-inflammatory and antioxidant properties, turmeric can brighten the complexion and address skin concerns. It’s often used in face masks for a healthy glow.
c. Lavender (Essential Oil): Beyond its pleasant aroma, lavender oil has calming and antibacterial properties. It’s an excellent addition to skincare products and can enhance the relaxation factor in DIY treatments.
d. Rosemary: Known for stimulating hair growth and improving scalp health, rosemary is a beneficial herb for homemade hair treatments and rinses.
These tools and ingredients provide a solid foundation for beginners in the world of DIY beauty. As you explore and become more comfortable, you can expand your toolkit and experiment with a broader range of natural ingredients to create personalized beauty formulations.
DIY Face Masks for Glowing Skin:
A. Turmeric and Honey Brightening Mask
- Ingredients:
- 1 teaspoon turmeric powder
- 1 tablespoon raw honey
- 1 teaspoon yogurt (optional)
- Benefits:
- Turmeric brightens the skin and reduces inflammation.
- Honey provides natural hydration and has antibacterial properties.
- Yogurt soothes and adds a creamy consistency.
- Instructions:
- Mix turmeric, honey, and yogurt (if using) in a bowl.
- Apply the mixture to a clean face, avoiding the eye area.
- Leave on for 15-20 minutes.
- Rinse off with warm water, gently massaging the skin.
B. Avocado and Yogurt Hydration Booster
- Ingredients:
- 1/2 ripe avocado
- 2 tablespoons plain yogurt
- 1 teaspoon honey
- Benefits:
- Avocado nourishes and moisturizes the skin with healthy fats.
- Yogurt adds probiotics and lactic acid for gentle exfoliation.
- Honey provides additional hydration and has antibacterial properties.
- Instructions:
- Mash the avocado in a bowl and mix in yogurt and honey.
- Apply the mixture evenly to the face.
- Relax for 15-20 minutes.
- Rinse off with lukewarm water.
C. Clay and Charcoal Detoxifying Mask
- Ingredients:
- 1 tablespoon bentonite clay
- 1/2 teaspoon activated charcoal powder
- 1 tablespoon apple cider vinegar
- 1 drop of tea tree oil (optional)
- Benefits:
- Bentonite clay detoxifies and unclogs pores.
- Charcoal draws out impurities and excess oil.
- Apple cider vinegar balances pH and tea tree oil has antibacterial properties.
- Instructions:
- Mix clay, charcoal, apple cider vinegar, and tea tree oil (if using) until smooth.
- Apply an even layer to the face, avoiding sensitive areas.
- Allow it to dry for 10-15 minutes.
- Rinse off with warm water.
Homemade Hair Masks for Luscious Locks:
A. Coconut Oil and Banana Repair Mask
- Ingredients:
- 2 tablespoons coconut oil (warmed)
- 1 ripe banana
- Benefits:
- Coconut oil deeply conditions and adds shine.
- Banana nourishes with vitamins, promoting hair elasticity.
- Instructions:
- Mash the banana and mix in warmed coconut oil.
- Apply the mixture to damp hair, focusing on the ends.
- Leave on for 20-30 minutes.
- Rinse thoroughly and shampoo as usual.
B. Egg and Olive Oil Strengthening Treatment
- Ingredients:
- 1 egg
- 2 tablespoons olive oil
- Benefits:
- Eggs provide protein for hair strength.
- Olive oil adds moisture and shine.
- Instructions:
- Beat the egg and mix in olive oil.
- Apply to dry or damp hair, covering from roots to tips.
- Leave it on for 30 minutes.
- Rinse with cool water and shampoo.
C. Aloe Vera and Honey Scalp Soothing Mask
- Ingredients:
- 1/4 cup aloe vera gel
- 1 tablespoon honey
- Benefits:
- Aloe vera soothes the scalp and reduces inflammation.
- Honey provides antibacterial properties and adds moisture.
- Instructions:
- Mix aloe vera gel and honey in a bowl.
- Part hair and apply the mixture to the scalp.
- Massage gently and leave on for 20-30 minutes.
- Rinse thoroughly and follow with shampoo.
The incorporation of herbs and spices not only enhances the efficacy of DIY beauty treatments but also introduces a natural and holistic dimension to the skincare and haircare routines.
Lip Care: DIY Balms and Scrubs:
A. Peppermint and Coconut Oil Plumping Balm
- Ingredients:
- 1 tablespoon coconut oil
- 1 teaspoon beeswax pellets
- 5-6 drops peppermint essential oil
- Benefits:
- Coconut oil hydrates and nourishes the lips.
- Beeswax adds a protective barrier.
- Peppermint oil provides a tingling sensation for a plumping effect.
- Instructions:
- Melt coconut oil and beeswax in a double boiler.
- Remove from heat and add peppermint oil.
- Pour into a small lip balm container.
- Let it cool and solidify before use.
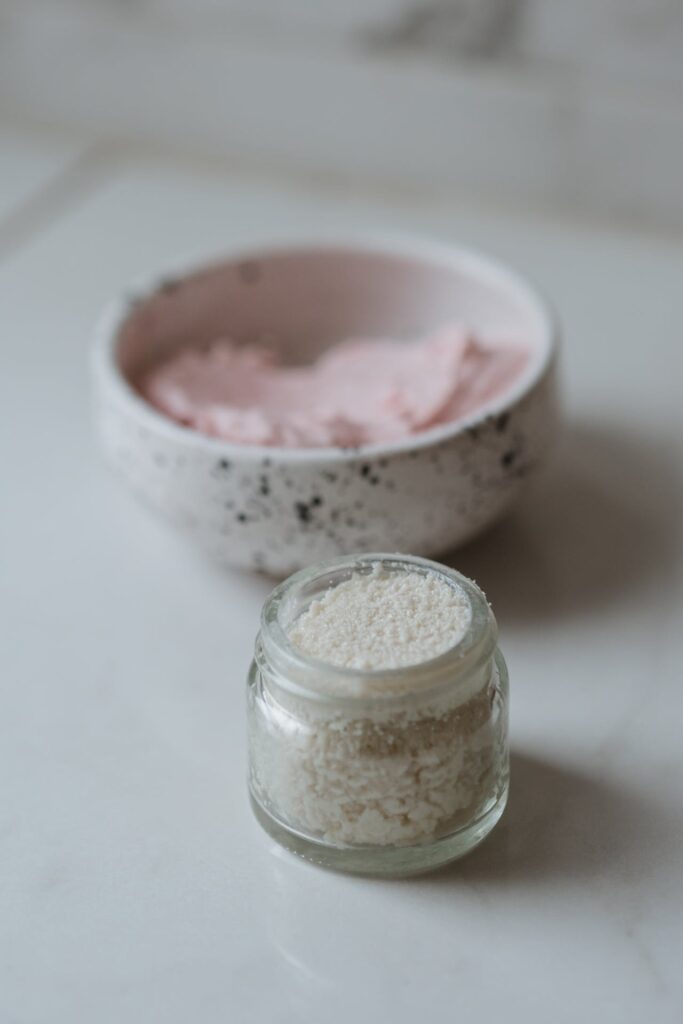
B. Brown Sugar and Honey Exfoliating Scrub
- Ingredients:
- 1 tablespoon brown sugar
- 1/2 tablespoon honey
- 1/2 tablespoon coconut oil (melted)
- Benefits:
- Brown sugar exfoliates dead skin cells.
- Honey provides antibacterial properties.
- Coconut oil moisturizes and softens the lips.
- Instructions:
- Mix brown sugar, honey, and melted coconut oil in a bowl.
- Gently massage the scrub onto damp lips in circular motions.
- Rinse with warm water and pat dry.
- Follow up with your favorite lip balm.
Natural Solutions for Acne and Blemishes:
A. Tea Tree Oil Spot Treatment
- Ingredients:
- 1 drop of tea tree oil
- 1 teaspoon aloe vera gel (optional)
- Benefits:
- Tea tree oil has antimicrobial properties to combat acne.
- Aloe vera soothes and reduces inflammation.
- Instructions:
- Mix tea tree oil with aloe vera gel (if using).
- Apply a small amount directly to blemishes using a cotton swab.
- Leave it on overnight.
- Rinse in the morning and moisturize.
B. DIY Calming Cucumber Toner
- Ingredients:
- 1/2 cucumber, peeled and sliced
- 2 tablespoons witch hazel
- 1 tablespoon rose water
- Benefits:
- Cucumber soothes and hydrates the skin.
- Witch hazel acts as a natural astringent.
- Rose water provides a refreshing fragrance and balances pH.
- Instructions:
- Blend cucumber slices until smooth.
- Strain the cucumber juice and mix it with witch hazel and rose water.
- Apply the toner to the face using a cotton pad.
- Use it after cleansing and before applying moisturizer.
DIY Body Scrubs for Silky Smooth Skin:
A. Coffee Grounds and Coconut Oil Exfoliator
- Ingredients:
- 1/2 cup used coffee grounds
- 1/4 cup coconut oil (melted)
- 1 tablespoon brown sugar (optional for added exfoliation)
- Benefits:
- Coffee grounds exfoliate and stimulate blood flow.
- Coconut oil moisturizes and nourishes the skin.
- Brown sugar enhances the scrub’s exfoliating properties.
- Instructions:
- Mix used coffee grounds with melted coconut oil.
- Add brown sugar if desired for a coarser scrub.
- Gently massage the scrub onto damp skin in circular motions.
- Rinse off thoroughly and pat dry.
B. Sugar and Lavender Relaxing Scrub
- Ingredients:
- 1 cup white or brown sugar
- 1/2 cup sweet almond oil
- 10 drops of lavender essential oil
- Benefits:
- Sugar exfoliates dead skin cells.
- Sweet almond oil provides deep moisturization.
- Lavender oil offers a calming and relaxing scent.
- Instructions:
- Mix sugar, sweet almond oil, and lavender essential oil in a bowl.
- Apply the scrub to damp skin, focusing on rough areas.
- Massage gently for a few minutes.
- Rinse off in the shower for soft, smooth skin.
Soothing DIY Eye Masks:
A. Cucumber and Aloe Vera De-Puffing Mask
- Ingredients:
- 1/2 cucumber, chilled and thinly sliced
- 1 tablespoon aloe vera gel
- Benefits:
- Cucumber reduces puffiness and soothes the under-eye area.
- Aloe vera provides hydration and a cooling sensation.
- Instructions:
- Blend cucumber slices until smooth.
- Mix cucumber puree with aloe vera gel.
- Apply the mixture to the under-eye area.
- Leave on for 15-20 minutes, then rinse with cool water.
B. Chamomile Tea Bags for Dark Circles
- Ingredients:
- 2 chamomile tea bags
- Water for steeping
- Benefits:
- Chamomile has anti-inflammatory properties to reduce dark circles.
- The coolness of the tea bags helps constrict blood vessels.
- Instructions:
- Steep the chamomile tea bags in hot water for a few minutes.
- Allow them to cool in the refrigerator.
- Place a tea bag on each closed eye for 15-20 minutes.
- Enjoy the calming effects and reduced puffiness.
Relaxing Bath Soaks for Ultimate Pampering:
A. Epsom Salt and Lavender Oil Relaxation Soak
- Ingredients:
- 1 cup Epsom salt
- 10 drops of lavender essential oil
- 1/2 cup baking soda (optional for additional softening)
- Benefits:
- Epsom salt relieves muscle tension and promotes relaxation.
- Lavender oil induces a calming effect.
- Baking soda softens the water and soothes the skin.
- Instructions:
- Mix Epsom salt, lavender oil, and baking soda (if using) in a bowl.
- Add the mixture to warm bathwater.
- Soak and unwind for at least 20 minutes.
B. Oatmeal and Chamomile Calming Bath
- Ingredients:
- 1 cup colloidal oatmeal
- 2 chamomile tea bags
- 1/4 cup honey (optional for added moisture)
- Benefits:
- Oatmeal soothes irritated skin and provides a barrier of protection.
- Chamomile has anti-inflammatory properties for a calming effect.
- Honey adds moisture and promotes a softening effect.
- Instructions:
- Run a warm bath and sprinkle colloidal oatmeal into the water.
- Steep chamomile tea bags in the bath.
- Optionally, add honey to the bath for extra nourishment.
- Relax and soak for 20-30 minutes.
Natural Teeth Whitening Remedies:
A. Baking Soda and Lemon Whitening Paste
- Ingredients:
- 1 tablespoon baking soda
- 1 teaspoon fresh lemon juice
- A few drops of water (if needed)
- Benefits:
- Baking soda acts as a mild abrasive for gentle teeth polishing.
- Lemon juice brightens and cleans teeth.
- The combination helps remove surface stains.
- Instructions:
- Mix baking soda and lemon juice in a bowl.
- Add water if needed to form a paste.
- Apply the paste to your toothbrush and brush for 2 minutes.
- Rinse thoroughly, and use this paste no more than once a week.
B. Strawberry and Baking Soda Teeth Polish
- Ingredients:
- 1 ripe strawberry
- 1/2 teaspoon baking soda
- Benefits:
- Strawberries contain malic acid, a natural teeth-whitening agent.
- Baking soda helps remove stains and plaque.
- Instructions:
- Mash the ripe strawberry in a bowl.
- Add baking soda to the mashed strawberry.
- Apply the mixture to your teeth with a toothbrush.
- Gently brush for 2 minutes, then rinse thoroughly. Use sparingly to avoid excessive acidity on teeth.
DIY Nail Care: Healthy Tips and Treatments:
A. Olive Oil and Lemon Cuticle Treatment
- Ingredients:
- 1 tablespoon olive oil
- Juice of half a lemon
- 1 teaspoon honey (optional for added moisture)
- Benefits:
- Olive oil nourishes and moisturizes cuticles.
- Lemon juice helps brighten and exfoliate.
- Honey adds extra hydration.
- Instructions:
- Mix olive oil, lemon juice, and honey (if using) in a small bowl.
- Soak fingertips in the mixture for 5-10 minutes.
- Gently push back cuticles using a cuticle pusher.
- Rinse hands and apply hand cream for added moisture.
B. DIY Strengthening Nail Soak
- Ingredients:
- 1 cup warm water
- 1 tablespoon salt
- 1 tablespoon olive oil
- 1 tablespoon lemon juice
- Benefits:
- Warm water softens nails for easier maintenance.
- Salt strengthens nails.
- Olive oil and lemon juice provide moisture and brightness.
- Instructions:
- Mix warm water, salt, olive oil, and lemon juice in a bowl.
- Soak your nails for 10-15 minutes.
- Gently scrub nails with a soft brush.
- Pat dry and apply a nourishing nail oil.
Essential Oil Elixirs for Radiant Skin:
A. Rosehip and Frankincense Anti-Aging Serum
- Ingredients:
- 1 tablespoon rosehip oil
- 5 drops of frankincense essential oil
- 5 drops of vitamin E oil
- Benefits:
- Rosehip oil is rich in vitamins and antioxidants.
- Frankincense oil promotes skin regeneration and reduces wrinkles.
- Vitamin E oil nourishes and protects the skin.
- Instructions:
- Mix rosehip oil, frankincense oil, and vitamin E oil in a dark glass bottle.
- Apply a few drops to the face before bedtime.
- Gently massage the serum into the skin.
B. Lavender and Jojoba Oil Relaxation Blend
- Ingredients:
- 1 tablespoon jojoba oil
- 5 drops of lavender essential oil
- 3 drops chamomile essential oil (optional)
- Benefits:
- Jojoba oil balances skin moisture.
- Lavender oil has calming and soothing properties.
- Chamomile oil adds extra relaxation benefits.
- Instructions:
- Mix jojoba oil, lavender oil, and chamomile oil (if using) in a small bottle.
- Apply a few drops to your palms, rub them together, and inhale the calming aroma.
- Massage the oil into your skin after a bath or before bedtime for a relaxing experience.
Common Mistakes to Avoid in DIY Beauty:
A. Overusing Certain Ingredients
- Issue:
- Excessive use of potent ingredients, such as essential oils or acids, can lead to skin irritation or sensitization.
- Solution:
- Follow recipes diligently, and be cautious with strong ingredients. Less is often more in DIY beauty.
B. Ignoring Skin Sensitivity
- Issue:
- Neglecting individual skin sensitivities can result in adverse reactions or allergies.
- Solution:
- Conduct patch tests before applying new ingredients to larger areas. Pay attention to any signs of redness, itching, or irritation.
C. Not Patch-Testing New Recipes
- Issue:
- Applying a new DIY beauty product without patch-testing may lead to unexpected reactions.
- Solution:
- Always patch-test on a small area of skin to ensure compatibility before applying the product to larger areas.
Storing and Shelf Life of Homemade Beauty Products:
A. Proper Storage Containers
- Guidelines:
- Use airtight containers to prevent exposure to air and bacteria.
- Choose dark or opaque containers for light-sensitive ingredients.
- Label containers with the date of preparation and ingredients.
B. Approximate Shelf Life of DIY Beauty Products
- General Recommendations:
- Water-Based Products (e.g., toners, masks): 1-2 weeks if refrigerated.
- Oil-Based Products (e.g., serums, balms): 3-6 months.
- Dry Mixes (e.g., scrubs, bath salts): 6 months to 1 year.
- Avoid Contamination: Use clean utensils and hands when handling products.
- Observe Changes: Discard if you notice changes in color, smell, or texture.
- Exceptions:
- Products with Fresh Ingredients: (e.g., those containing fresh fruit or dairy) Consume within a few days and keep refrigerated.
- Preservative-Free Products: Use them promptly and store them properly to avoid bacterial growth.
- Tip:
- Consider making smaller batches to ensure freshness and effectiveness.
- Keep products in a cool, dark place to extend shelf life.
- If in doubt, discard and remix to maintain the integrity of the product.
Sustainability in DIY Beauty:
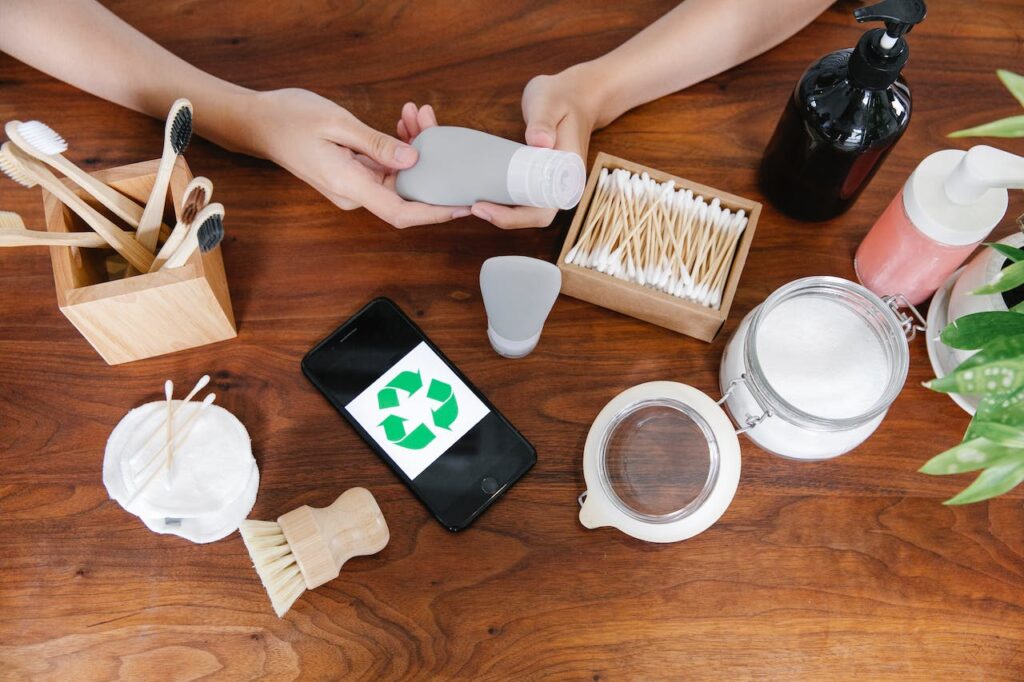
A. Using Eco-Friendly Packaging
- Opt for reusable, recyclable, or biodegradable packaging when storing DIY beauty products.
- Consider repurposing glass jars or containers to minimize waste.
B. Choosing Sustainable Ingredients
- Select ingredients that are ethically sourced, cruelty-free, and have minimal environmental impact.
- Prioritize ingredients with eco-certifications or those that support fair trade practices.
Creating a DIY Beauty Routine:
A. Weekly Skincare and Haircare Schedule
- Example Schedule:
- Monday: Deep cleansing facial mask.
- Wednesday: Hydrating hair mask.
- Friday: Exfoliating body scrub.
- Sunday: Relaxing bath soak.
B. Adapting the Routine to Individual Needs
- Considerations:
- Skin Type: Adjust recipes based on your skin type (oily, dry, combination) and concerns (acne, aging, sensitivity).
- Hair Type: Tailor hair treatments to address specific needs (hydration, repair, volume).
- Climate: Modify routines based on seasonal changes to accommodate shifting skin and hair needs.
- Allergies and Sensitivities: Be mindful of any allergies or sensitivities when choosing and combining ingredients.
- Tips:
- Consistency is Key: Stick to a routine for optimal results.
- Experiment and Adjust: If a particular ingredient or routine isn’t working, be open to experimentation and adjustments.
- Listen to Your Body: Pay attention to how your skin and hair respond, and adapt your routine accordingly.
Troubleshooting Common Issues:
A. Allergic Reactions and How to Handle Them
- Immediate Steps:
- Rinse Off: If redness, itching, or irritation occurs, immediately rinse off the product with cool water.
- Cold Compress: Apply a cold compress to reduce inflammation and soothe the affected area.
- Seek Medical Advice:
- Persistent Symptoms: If the reaction persists or worsens, consult with a healthcare professional promptly.
- Emergency Signs: Seek medical attention for severe allergic reactions such as swelling, difficulty breathing, or widespread rash.
- Prevention:
- Patch Testing: Always perform a patch test before using new ingredients on larger areas of the skin to identify potential allergies.
B. Adjusting Recipes for Different Skin Types
- Oily Skin:
- Consider: Lightweight, non-comedogenic ingredients like aloe vera, tea tree oil, and cucumber.
- Avoid: Heavy oils and ingredients that may clog pores.
- Dry Skin:
- Consider: Hydrating elements like honey, avocado, and moisturizing oils such as jojoba or argan.
- Avoid: Harsh exfoliants and drying ingredients.
- Sensitive Skin:
- Consider: Gentle ingredients like chamomile, aloe vera, and calendula.
- Avoid: Strong acids, fragrances, and harsh physical exfoliants.
Conclusion:
Indulging in DIY beauty treatments at home is not only cost-effective but also allows you to pamper yourself with natural ingredients. Whether it’s a face mask, hair treatment, or body scrub, these easy-to-make treatments will not only enhance your physical well-being but also contribute to a sense of relaxation and balance in your busy life.
So, take a break from your busy schedule, gather a few simple ingredients, and treat yourself to the spa-like experience you deserve. Cheers to the adventure ahead, and may your beauty journey be as vibrant as you are!”


You May Also Like

Unlock Your Skin’s Radiance: 15 DIY Beauty Treatments for a Natural Glow
9 November 2025
Anti-Ageing Secrets: How To Maintain Youthful Skin
22 February 2025